If the FitMachine hasn't been onboarded previously please check out FitMachine Onboarding with your WiFi which will be better suited to your needs. Before going through this process, you'll need to read through the WiFi Network Requirements article and make sure that your WiFi network will allow the FitMachines to communicate through to our servers.
Things you will need:
- Mobile device with the FitMachine Mobile App (needs to have Bluetooth enabled later)
- Login details to sign in to the FitMachine Mobile App
- Onboarded FitMachine sensor(s)
If you haven't downloaded the FitMachine Mobile App please go to this help article: Installing the FitMachine Mobile App.
Enter your email address, password and your organisation into the appropriate fields. The organisation field is your company identifier. Contact your supervisor for the correct organisation tag.
My FitMachines
The first page shows onboarded and partially onboarded FitMachines and has a link to your equipment dashboard. To edit an existing device, you can go to the Scan FitMachine page which can be found bottom middle of the image below or select the correct device from the My FitMachines section.
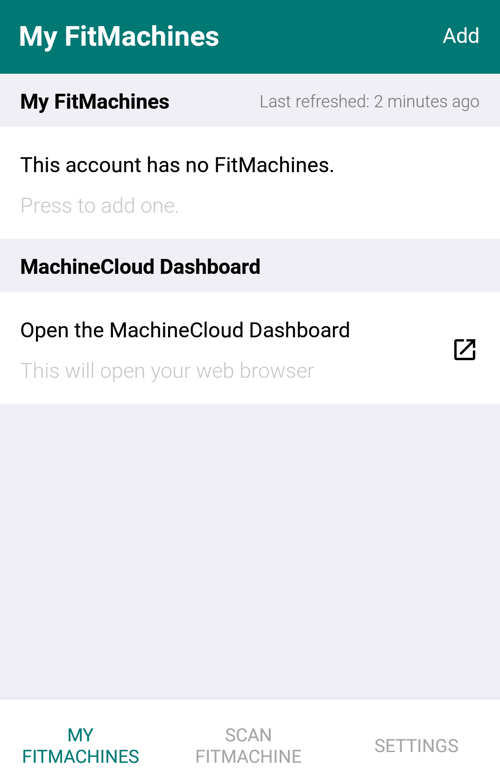
To ensure you are selecting the correct device to edit, please match the MAC address on the front of the FitMachine to the MAC address of the device listed on the app.
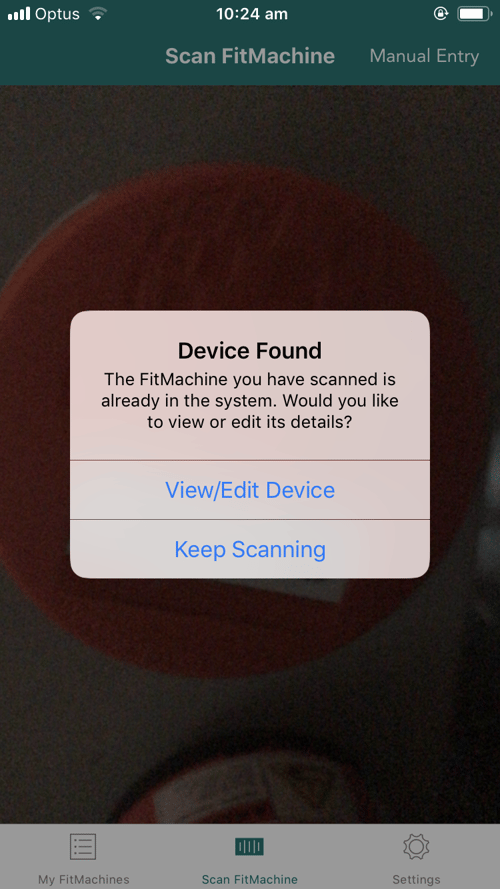
Scan FitMachine
Scan a FitMachine on your equipment without removing it. The pop up will allow you to edit the existing device.
WiFi Network
You will need Bluetooth on to edit the device. To add a WiFi profile to the FitMachine, select the WiFi Network button.
Choose Connection and Network Check
On this page (shown below) you choose how the particular FitMachine will connect to the MachineCloud. At this point, you will want to select the "My Own WiFi" option.
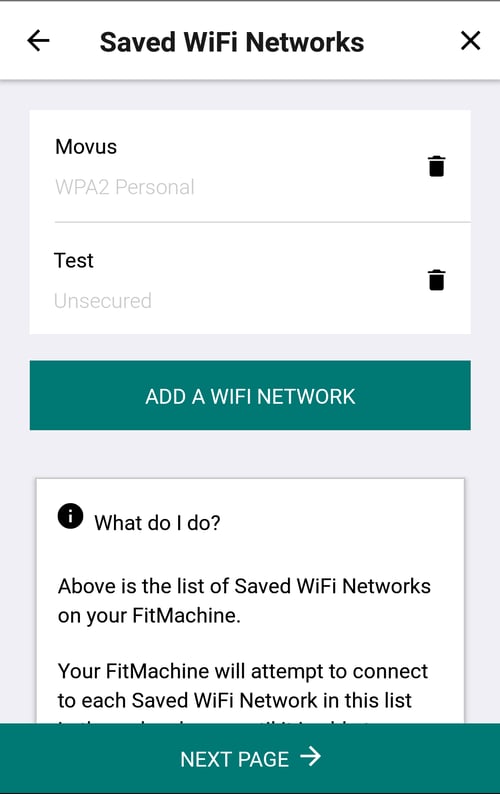
Select ‘Add a WiFi Network’, select the relevant security type, Unsecured or WPA2, and enter the network credentials of the network you’d like to connect to and press Save in the top right-hand corner of the screen. You will see that your WiFi network has been added to the list of Saved WiFi Networks on the FitMachine.


The next step is to use the app to perform a Network Check to ensure that the FitMachine can connect to the MachineCloud. This can be done by selecting the WiFi status button just below the WiFi network button on the summary page.
Make sure that the FitMachine is in place and all covers are closed or put back in place as they would be during regular operation. Please re-run the check after the FitMachine is in place.
This is to simulate the environment where the FitMachine will be monitoring your equipment. Testing the signal strength of the network with all the covers off will make it easier for the FitMachine to connect to the network and may result in the FitMachine not-reporting once the covers are put back in place.
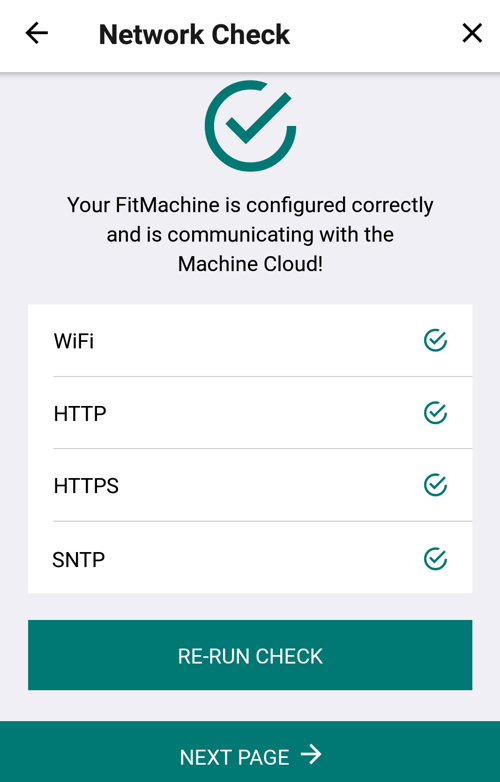
If your network check doesn't look like the image above, please re-run the check.
---
Thanks for reading. As always, if you have any questions or concerns please reach out to MOVUS Support here.